Reviving a Dried-Out Succulent in Summer: Watering Guide
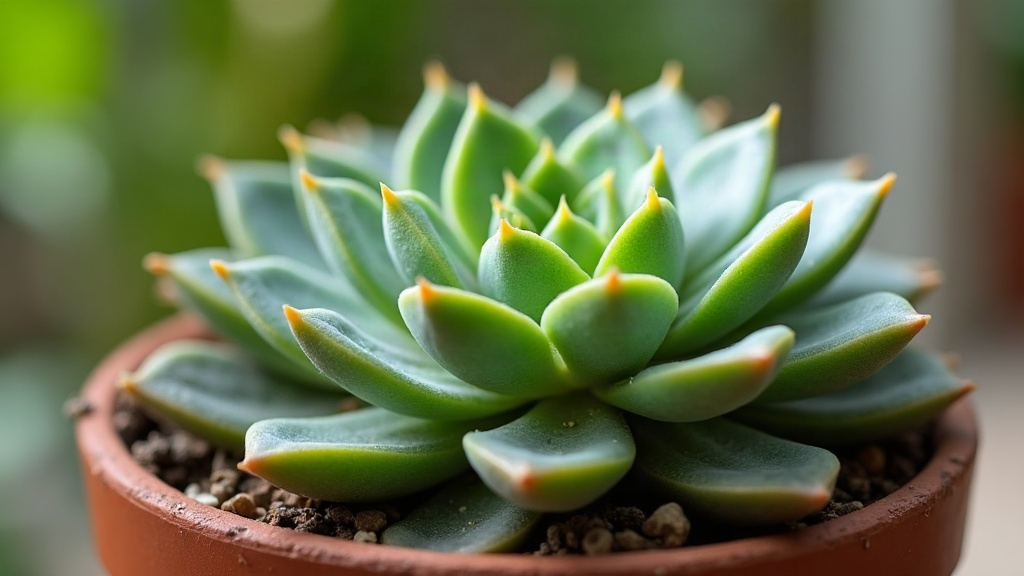
If your succulent looks wrinkled, shriveled, or paper-thin after a brutal summer, don’t panic. It’s dehydrated, not dead. Reviving a dried-out succulent usually comes down to two choices: rehydrate the existing plant with careful, gradual watering, or propagate healthy leaves and cuttings if the main plant is too far gone. This guide walks through exactly how to tell which path you’re on, and how to pull it off without rotting the thing or stressing it out further.
Signs Your Succulent Is Dried Out (Not Just Dormant)
Succulents naturally pucker a bit during hot, dry stretches. It’s a survival mechanism, nothing to worry about on its own. True dehydration, though, shows a different set of signs:
- Wrinkled, deflated leaves that feel thin and papery to the touch
- Lower leaves shriveling and dropping while new growth looks pale or stunted
- Soil pulling away from the pot edges, a clear sign it’s been bone-dry for weeks
- Stem turning soft or brown near the base (this points to a bigger problem, possibly root loss, not just thirst)
Here’s the quick test: if the leaves are wrinkled but still green and firm underneath, the plant can be saved with watering. If the stem is mushy, blackened, or the roots have crumbled to dust in your hand, propagation is your better bet.
When to Water: The Soak-and-Dry Revival Method
Summer heat dries soil fast, but a dehydrated succulent still needs a measured approach. Dumping a full watering can on it won’t undo three or four weeks of drought stress overnight, and it can actually make things worse.
Step 1: Check the Roots First
Gently slide the plant out of its pot. Healthy roots are white or light tan and slightly flexible, almost like cooked spaghetti. Black, mushy roots, or ones that have dried down to dust, mean the root system needs trimming before any watering is going to help.
Step 2: Trim and Repot if Needed
Cut away any rotted or dead roots with clean scissors (wipe the blades with alcohol between cuts if you’re dealing with rot). Repot into a fresh, fast-draining cactus or succulent mix. Never use regular garden soil here; it holds onto moisture far too long and will just set up the next round of problems.
Step 3: Water Deeply, Then Wait
Once repotted, water thoroughly until it runs out the bottom of the pot, then let the soil dry out completely before you touch it again. For a severely dehydrated plant, that timeline might look like this:
- First watering: soak fully, then wait 5-7 days
- Second watering: check soil moisture at 2 inches deep before rewatering
- Following waterings: settle into a normal rhythm, roughly every 10-14 days during peak summer heat
Step 4: Move It Out of Direct Afternoon Sun
While it’s recovering, keep the plant in bright, indirect light rather than full midday sun. A weakened succulent hit with direct afternoon rays can develop sunburn, those white or brown scarred patches, right on top of the dehydration damage it’s already dealing with.
When to Propagate Instead
Sometimes the main plant just won’t bounce back, and that’s fine, honestly. Succulents propagate easily from healthy tissue, so nothing is really lost. Skip the revival attempt and propagate instead when:
- The stem is mushy, hollow, or black at the base
- More than half the leaves have dropped or turned to mush
- Roots are completely gone and the plant has no anchor left in the soil
- You notice fungus or a sour smell coming from the soil (that’s rot talking, not just dryness)
How to Propagate From Leaves or Cuttings
- Pick plump, undamaged leaves or a healthy stem cutting from the upper part of the plant, where tissue is least stressed.
- Let the cut end callus over for 2-3 days in a dry, shaded spot. Skipping this step is the #1 reason new propagations rot the moment they touch soil.
- Lay leaves flat on well-draining succulent soil, or stand cuttings upright with just the base barely inserted.
- Mist lightly every few days, don’t soak, until you spot tiny roots and new rosettes forming. That usually takes 2 to 4 weeks.
- Once roots are established, ease into a normal watering schedule.
This approach lets you rescue the genetic material from a struggling plant even when the original pot is a total write-off.
Preventing Summer Dehydration Going Forward
- Water early in the morning so moisture has time to soak in before peak heat burns it off
- Use terracotta pots; they breathe and regulate moisture far better than plastic
- Add a thin layer of mulch or gravel on top of the soil to slow evaporation
- Check soil weekly during heat waves. Succulents dry out faster than most people expect once temps push past 90°F
Final Thoughts
A dried-out succulent isn’t automatically a dead one. Start by checking the roots and stem: if they’re firm and intact, a careful soak-and-dry watering routine should bring the plant back within a few weeks. If the base is mushy or the roots are gone, propagation from healthy leaves or cuttings is the smarter move, and more often than not, you’ll end up with an even stronger, freshly rooted plant by the time cooler weather rolls in.