Treating Spider Mites on Croton Leaves Without Fading Their Color
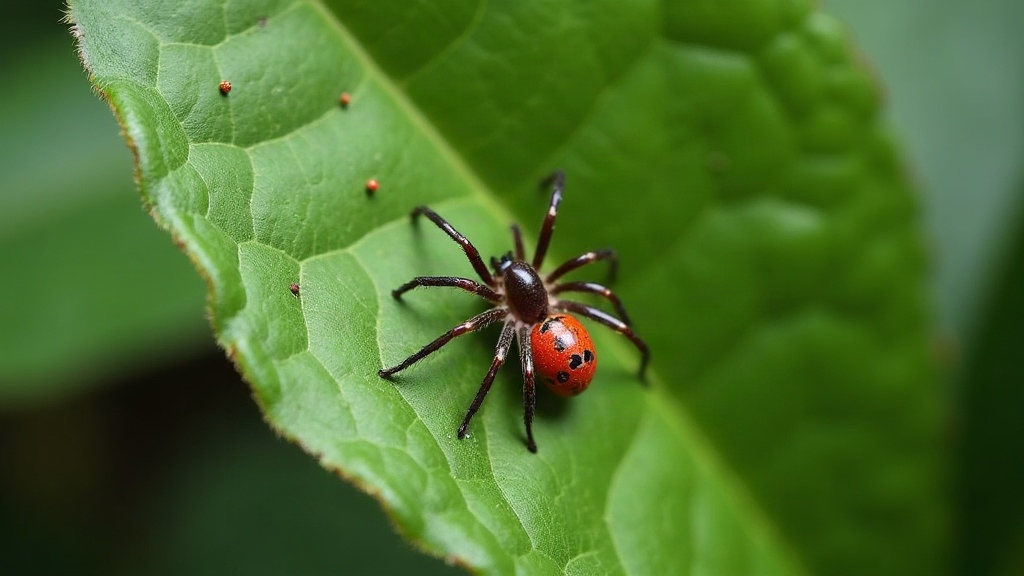
Spider Mites on Croton: How to Treat Them Without Wrecking the Color
Spider mites are one of the most common pests you’ll find on croton plants, and here’s the frustrating part: treating them the wrong way often does more visible damage than the mites ever did. Faded patches, bleached spots, discolored leaves — that’s usually the treatment talking, not the bugs. This guide walks through how to spot a spider mite problem on croton and deal with it without sacrificing that signature red, orange, yellow, and green variegation everyone buys the plant for in the first place.
Why Crotons Are Especially Vulnerable
Crotons (Codiaeum variegatum) get their reputation from bold, saturated foliage, and that color sits right in the leaf surface. Which, unfortunately, makes the plant a bit of a sitting duck on two fronts:
- Spider mites feed on exactly the surface layer that carries pigment, so even a mild infestation shows up as stippling and washed-out color almost immediately.
- A lot of the “go-to” treatments people reach for, strong insecticidal soap, undiluted neem oil, alcohol sprays, strip away wax and pigment right along with the pests. The result is pale or bleached blotches that just don’t come back.
Once you understand that trade-off, the whole approach to treatment changes. It’s less about killing every last mite fast and more about doing it without leaving scars.
How to Identify Spider Mites on Croton
Before you grab a spray bottle, make sure you’re actually looking at mites and not sunburn or a nutrient deficiency, both of which can mimic the early symptoms.
Signs of spider mite damage:
- Tiny yellow or white speckles (stippling) scattered across the leaf surface
- Fine webbing, easy to miss, near leaf joints or tucked under the leaves
- Leaves that look dusty and feel a little rough when you run a finger across them
- Tiny moving dots (red, brown, or tan) that show up if you tap a leaf over a sheet of white paper
If you’re seeing webbing and stippling together, that’s basically a confirmed diagnosis. It’s mites, not a watering mistake or a light problem.
Step-by-Step Treatment That Preserves Color
1. Isolate the Plant Immediately
Mites travel fast between plants sitting close together. Pull the croton away from your other houseplants before you do anything else. Even a day’s delay can let them jump to a neighboring pothos or peace lily.
2. Rinse Instead of Scrubbing
Start simple: a lukewarm shower or sink rinse, focused on the undersides of the leaves since that’s where mites actually live and lay eggs. This alone knocks out a big chunk of the population, no chemicals involved, no stress on the pigment.
- Stick to room-temperature water. Cold or hot water can shock the plant into dropping leaves.
- Cradle each leaf while you rinse. The thinner, more colorful sections tear more easily than you’d think.
3. Use Diluted, Not Full-Strength, Treatments
If a few days of rinsing hasn’t cleared things up, step up to a mild treatment, but go easy:
- Insecticidal soap: cut it to half the label strength for your first go, and patch-test on one leaf for 24 hours before treating the whole plant.
- Neem oil: mix a light 0.5–1% solution with a couple drops of mild dish soap to help it emulsify, and apply in the evening. Oil plus direct sun equals burned leaves.
- Skip rubbing alcohol entirely on croton. It’s brutal on pigmented tissue and tends to leave permanent pale blotches, not worth the shortcut.
4. Apply at the Right Time of Day
Evening or an overcast day, every time. Spraying oils or soaps under full sun ramps up leaf stress and raises your odds of bleaching no matter how diluted the mix is.
5. Repeat, Don’t Overdose
Mites breed fast, and their life cycle is short, so a single treatment won’t finish the job. Resist the urge to go stronger next time. Instead, repeat the same mild application every 5–7 days for three to four rounds. That rhythm breaks the egg-to-adult cycle gradually, without piling chemical stress onto leaves that are already struggling.
Preventing Fading During Recovery
- Keep humidity above 50%. Dry air is basically an invitation for spider mites, and higher humidity also helps leaves hold onto pigment and bounce back quicker.
- Hold off on fertilizer during treatment. A stressed plant can’t process nutrients properly anyway, and force-feeding it can actually make the discoloration worse.
- Give it bright, indirect light. Crotons need strong light to build color, sure, but direct sun on a weakened plant mid-recovery is a fast way to scorch it.
- Wipe leaves weekly with a damp cloth as a standing habit. Dust buildup both attracts mites and dulls the leaf color over time, two reasons to keep it up even after the infestation clears.
When to Consider Pruning Instead of Treating
Here’s a judgment call worth making early: if a leaf is more than 40-50% covered in stippling or webbing, treating it is often a waste of time. Pigment doesn’t regenerate once it’s damaged, that leaf is staying faded for good. Cutting it off isn’t giving up, it’s redirecting the plant’s energy toward new growth that’ll actually come in fully colored.
Final Thoughts
You don’t have to trade color for a mite-free croton. The combination that works is gentle water rinses, diluted treatments (never full-strength), evening application, and sticking with it for a couple of weeks of repeated, low-intensity rounds. Add good humidity and proper light, and most crotons come back looking like themselves again, aside from the severely damaged leaves, which are better off pruned so the plant can put its energy into fresh, vividly colored growth.